Set Up SSO with Google Workspace
Shelf supports single sign-on (SSO) using Google Workspace (formerly known as GSuite).
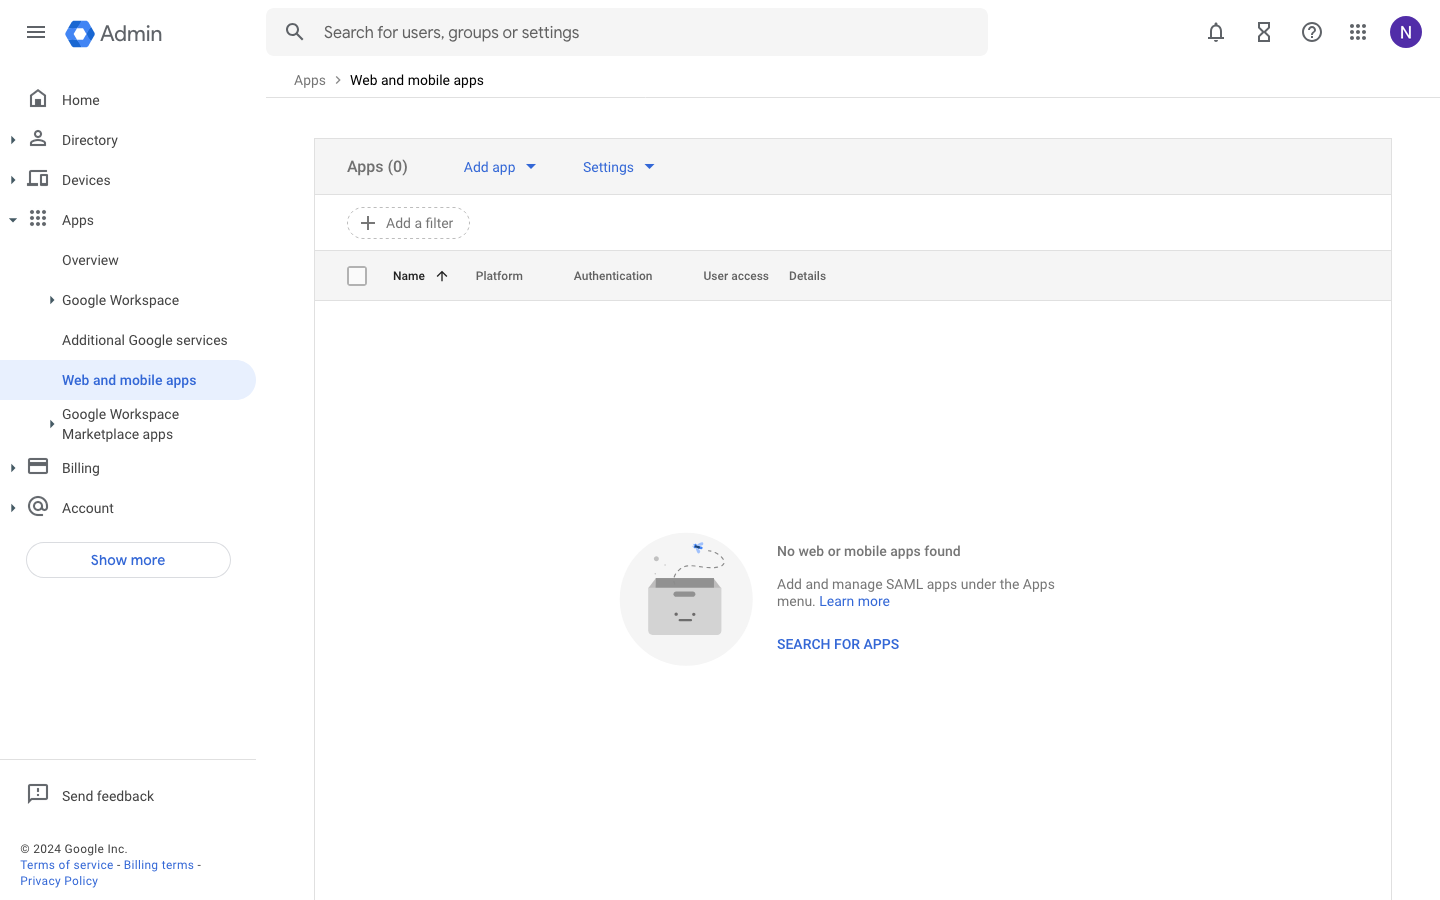
Step 1: Open the Google Workspace web and mobile apps console #
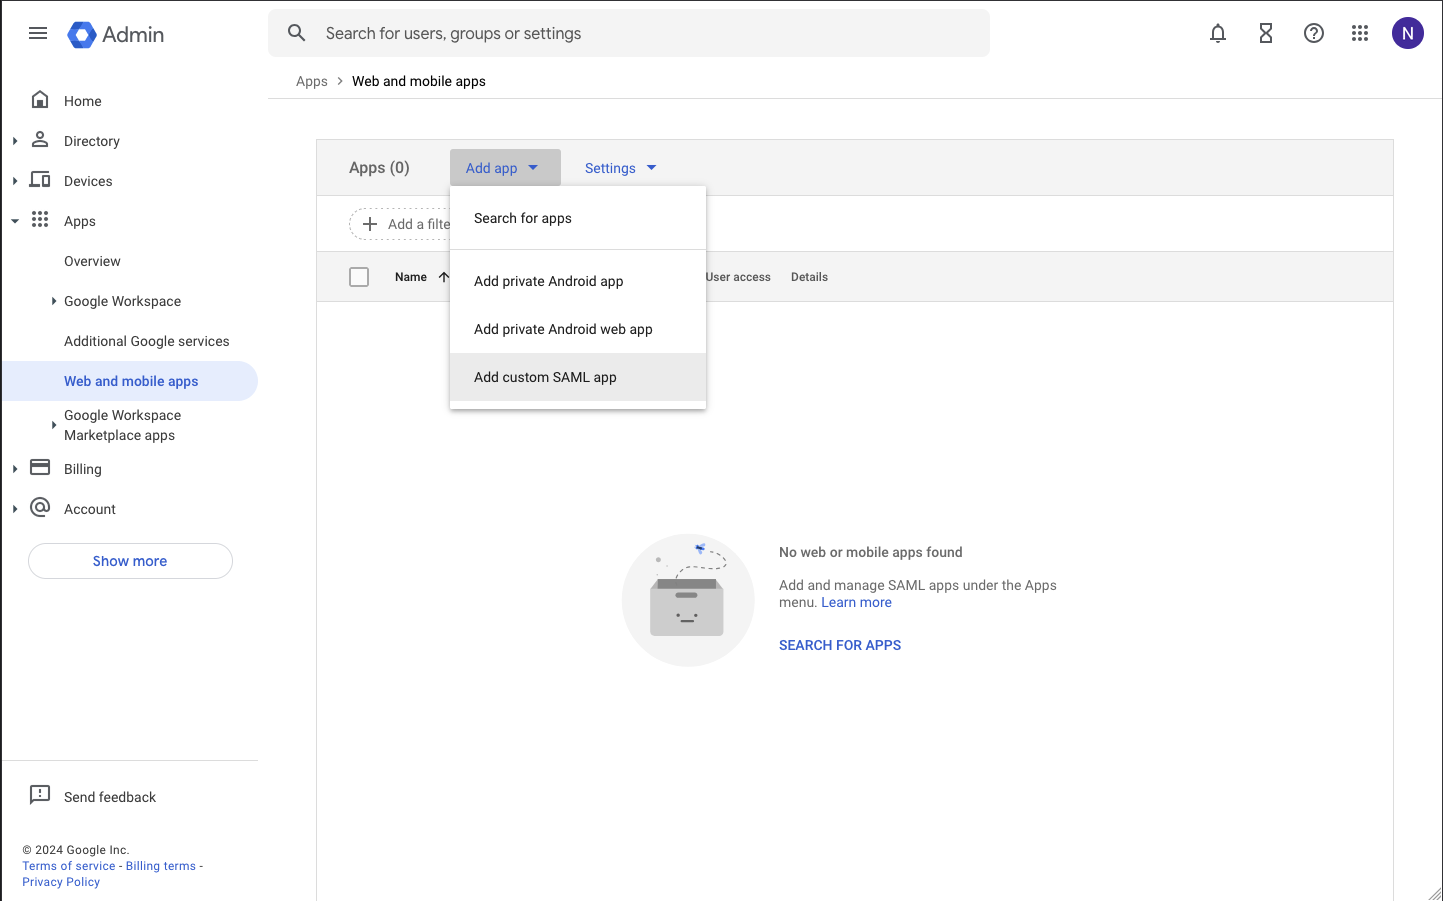
Step 2: Choose Add custom SAML app #
From the Add app button in the toolbar choose Add custom SAML app.
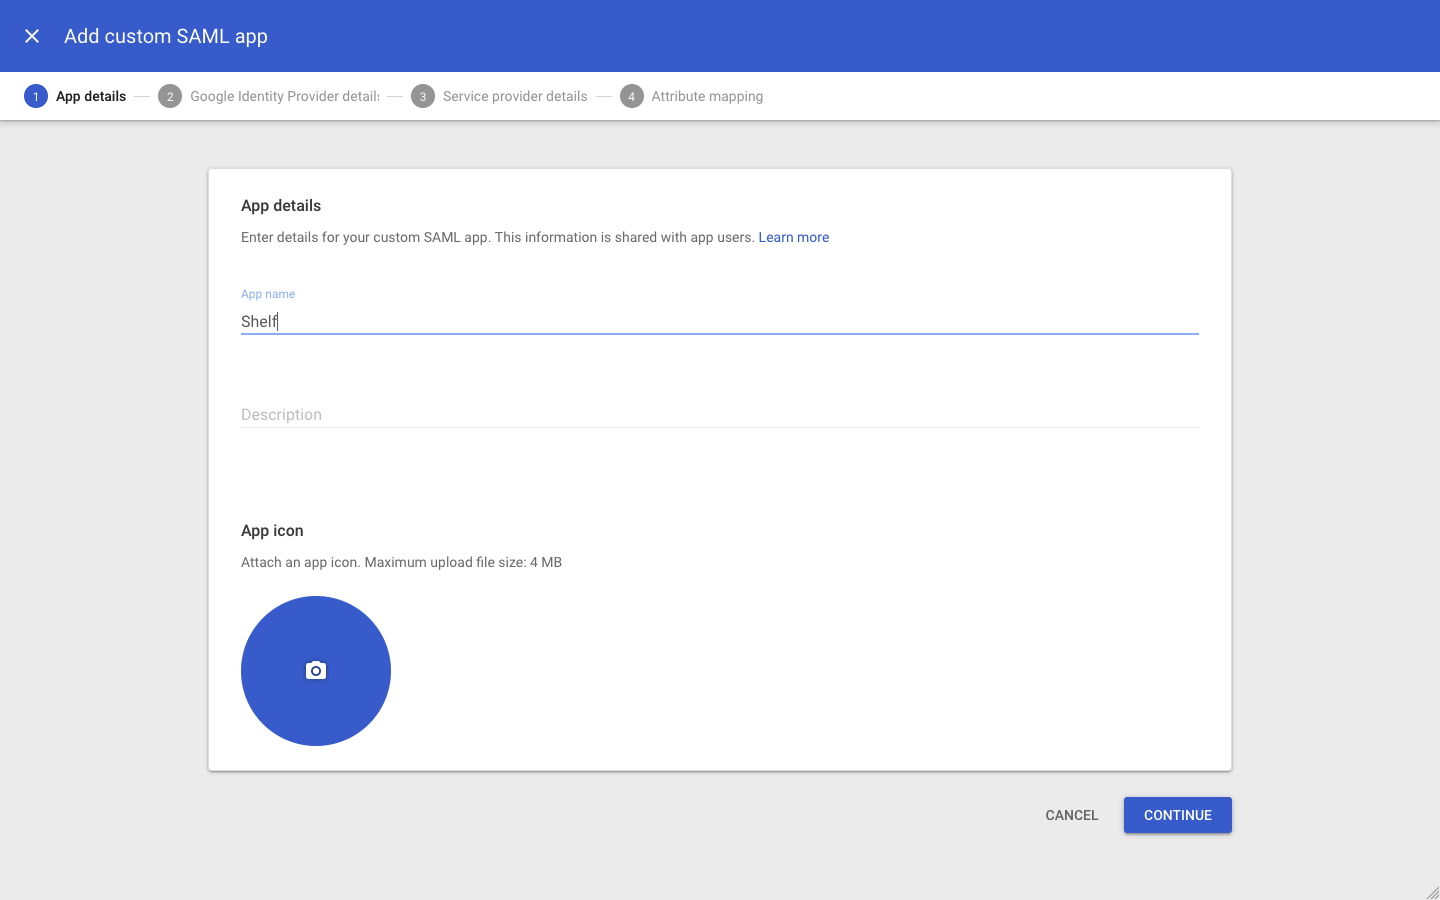
Step 3: Fill out app details #
The information you enter here is for visibility into your Google Workspace. You can choose any values you like. Optionally enter a description.
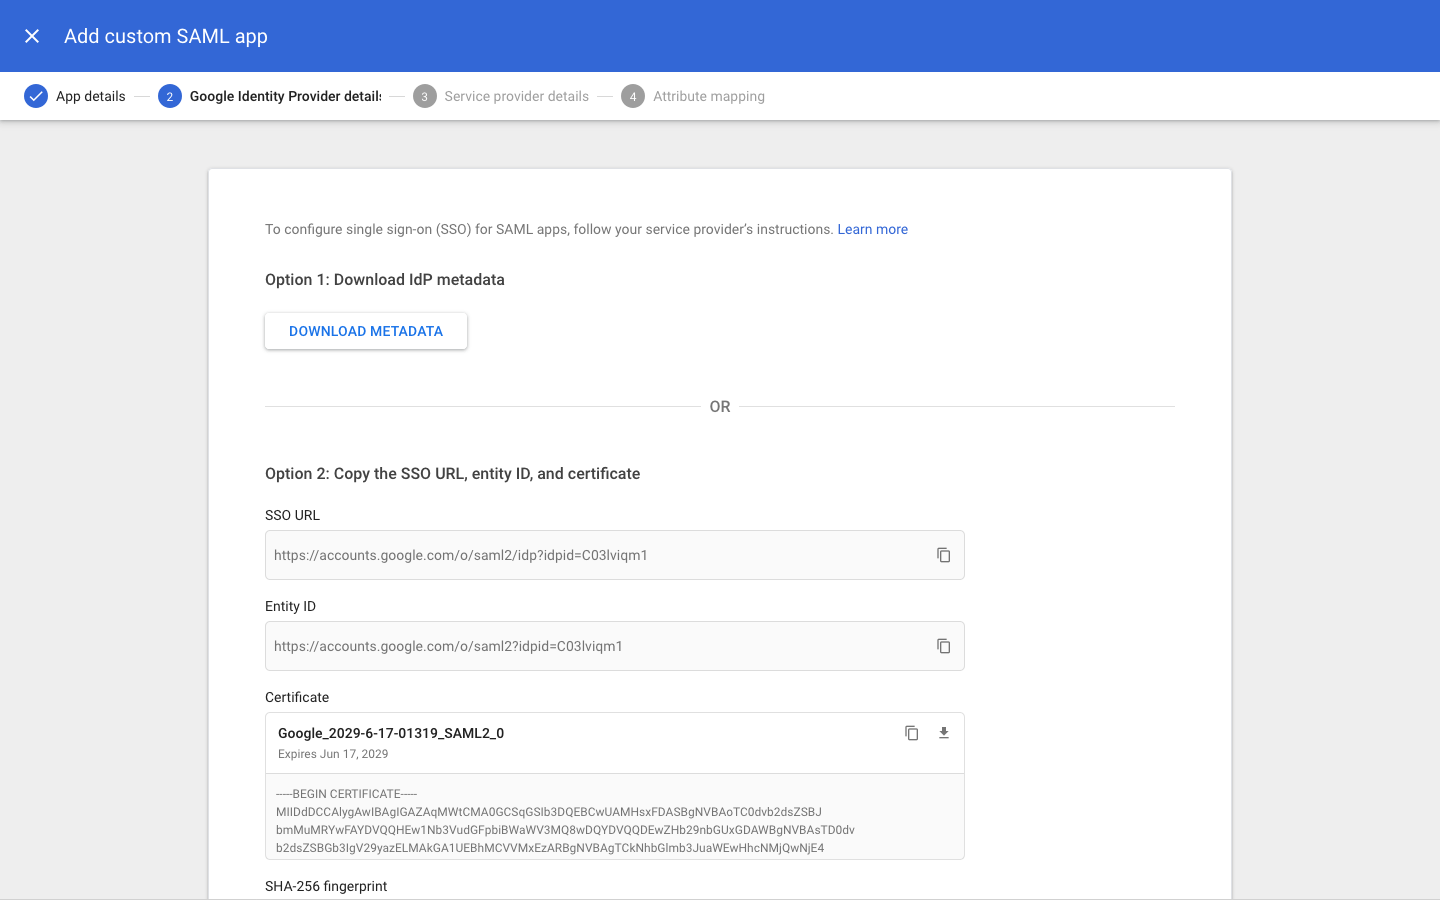
Step 4: Download IdP metadata #
This is a very important step. Click on DOWNLOAD METADATA and save the file that was downloaded.
It's very important to send this file to your support contact at Shelf to complete the SSO setup process. If you're not sure where to send this file, you can always reach us at hello@shelf.nu.
IMPORTANT
Make sure the certificate as shown on screen has at least 1 year before it expires. Mark down this date in your calendar so you will be reminded that you need to update the certificate without any downtime for your users.
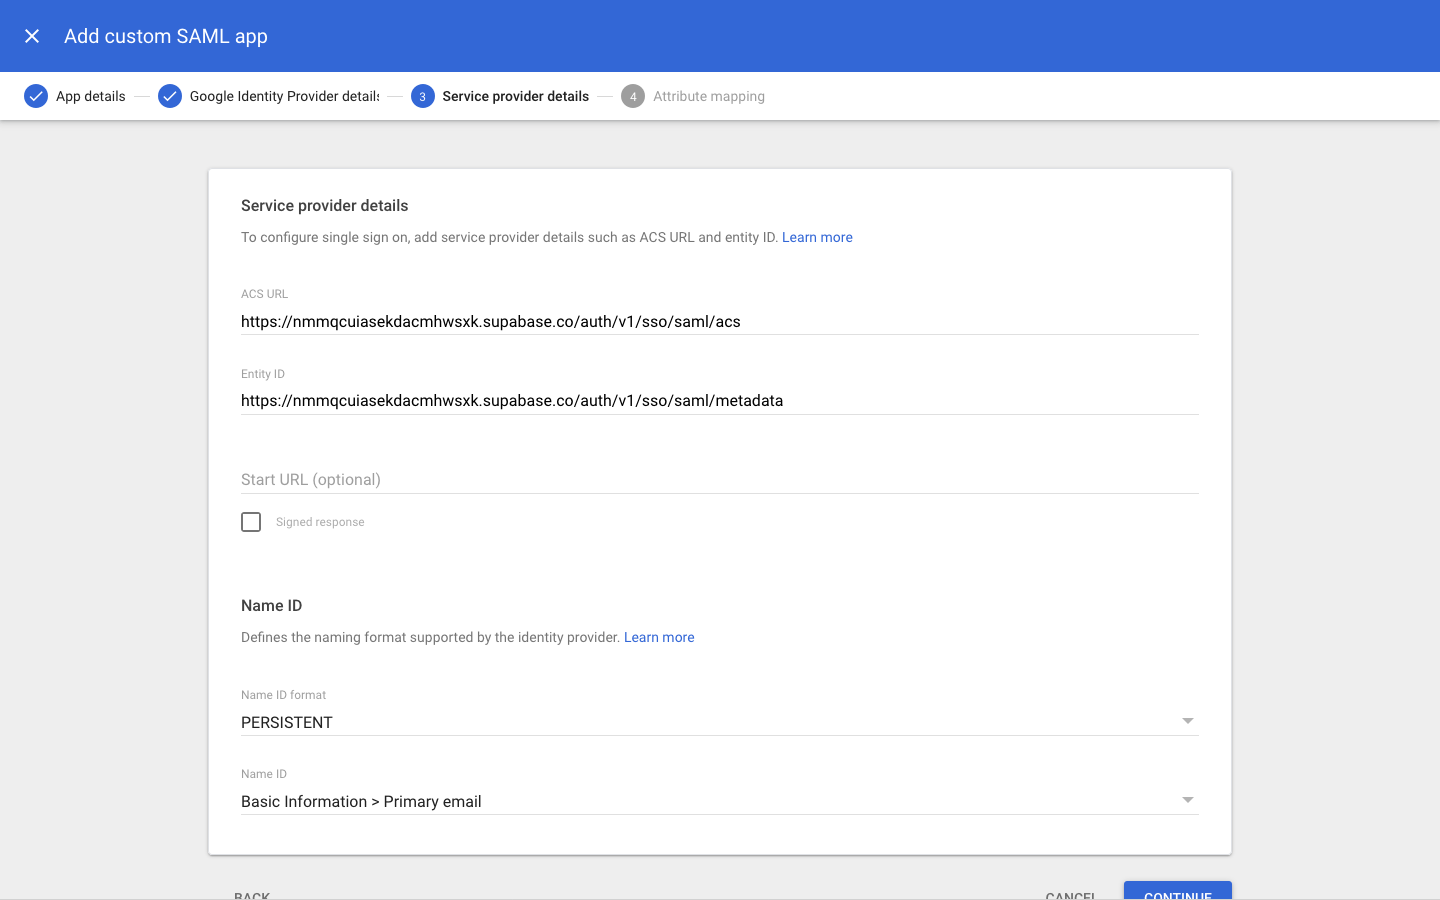
Step 5: Add service provider details #
Fill out these service provider details on the next screen.
| Detail | Value |
|---|---|
| ACS URL | https://nmmqcuiasekdacmhwsxk.supabase.co/auth/v1/sso/saml/acs |
| Entity ID | https://nmmqcuiasekdacmhwsxk.supabase.co/auth/v1/sso/saml/metadata |
| Name ID format | PERSISTENT |
| Name ID | Basic Information > Primary email |
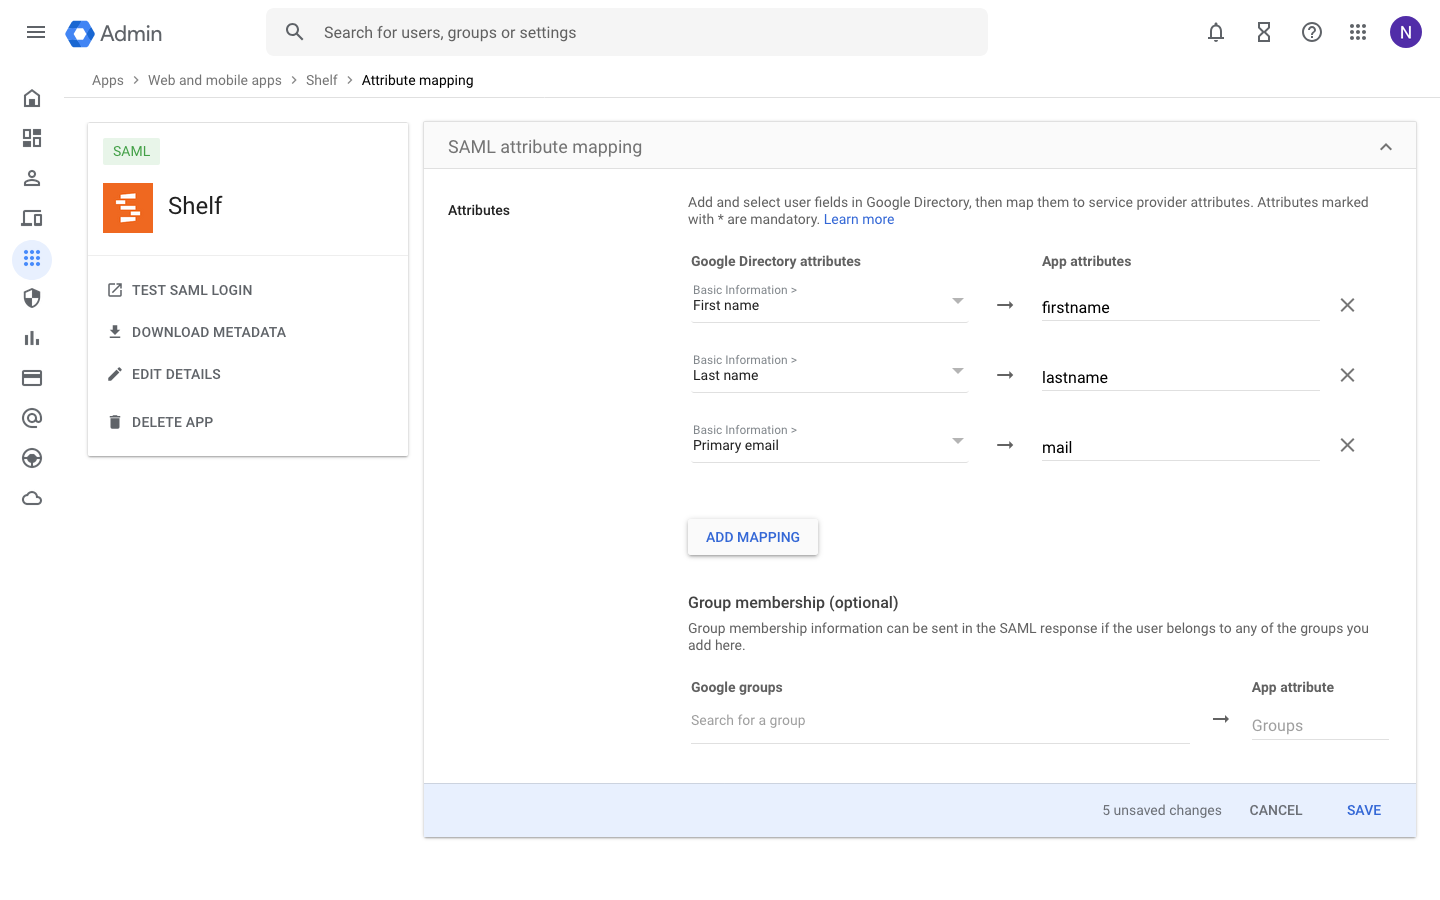
Step 6: Configure attribute mapping #
Attribute mappings allow Shelf to get information about your Google Workspace users on each login.
All attribute mappings are required. If in doubt, replicate the same config as shown in the screenshot below.
NOTE
You will come back to this step at a later stage once you have your groups created and users assigned
Step 7: Wait for confirmation #
Once you’ve configured the Google Workspace app as shown above, make sure you send the metadata file you downloaded to your support contact at Shelf.
This information needs to be entered into Shelf before SSO is activated end-to-end.
Wait for confirmation that this information has successfully been added to Shelf. It usually takes us 1 business day to configure this information for you.
In the meantime, you can continue with the next steps that will show you how to setup your groups and users.
Step 8: Create groups and assign users #
In order to manage which users get access to which workspace and with what role, Shelf uses groups for the mapping. Shelf has three roles you can map a group to:
- Admin group
- Self service group
- Base user group
NOTE
You only need to create a group for the roles you actually use — mapping a single group is enough for SSO to work. For example, if everyone on your team should have the same role, one group is all you need. Create additional groups only if you want different users to get different roles.
8.1: Create your groups in Google Workspace #
First step is to create the groups in Google Workspace. Inside your admin panel, navigate to Directory > Groups > Create group
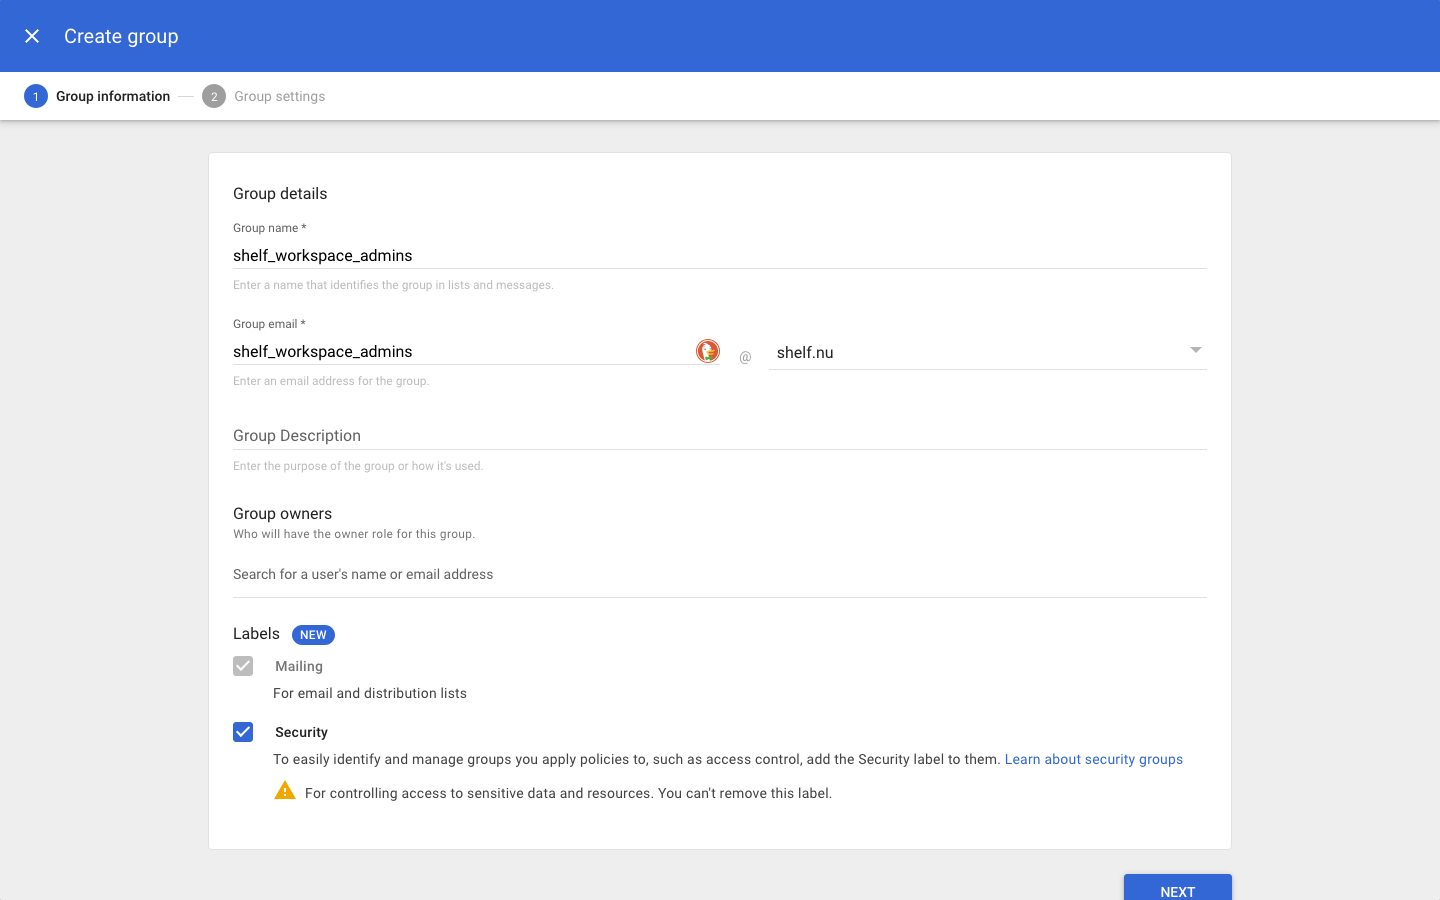
Add a name, email and make sure the group is labeled as security. Optionally fill in the other fields as well. Create one group per Shelf role you want to use (you need at least one).
IMPORTANT
Due to how Google Workspace works, it returns group names (not IDs) when a user logs in. This means that in Shelf you will map your groups using their names, not an ID. We recommend using lower-cased group names without spaces to avoid any mismatch. This is not required, but ensures a smoother integration.
8.2: Assign members to each group #
Once you have created your groups, you can assign any of your organization members to them. It is recommended that a member only belongs to 1 group within the same workspace. If they are added to both, the admin role will take precedence.
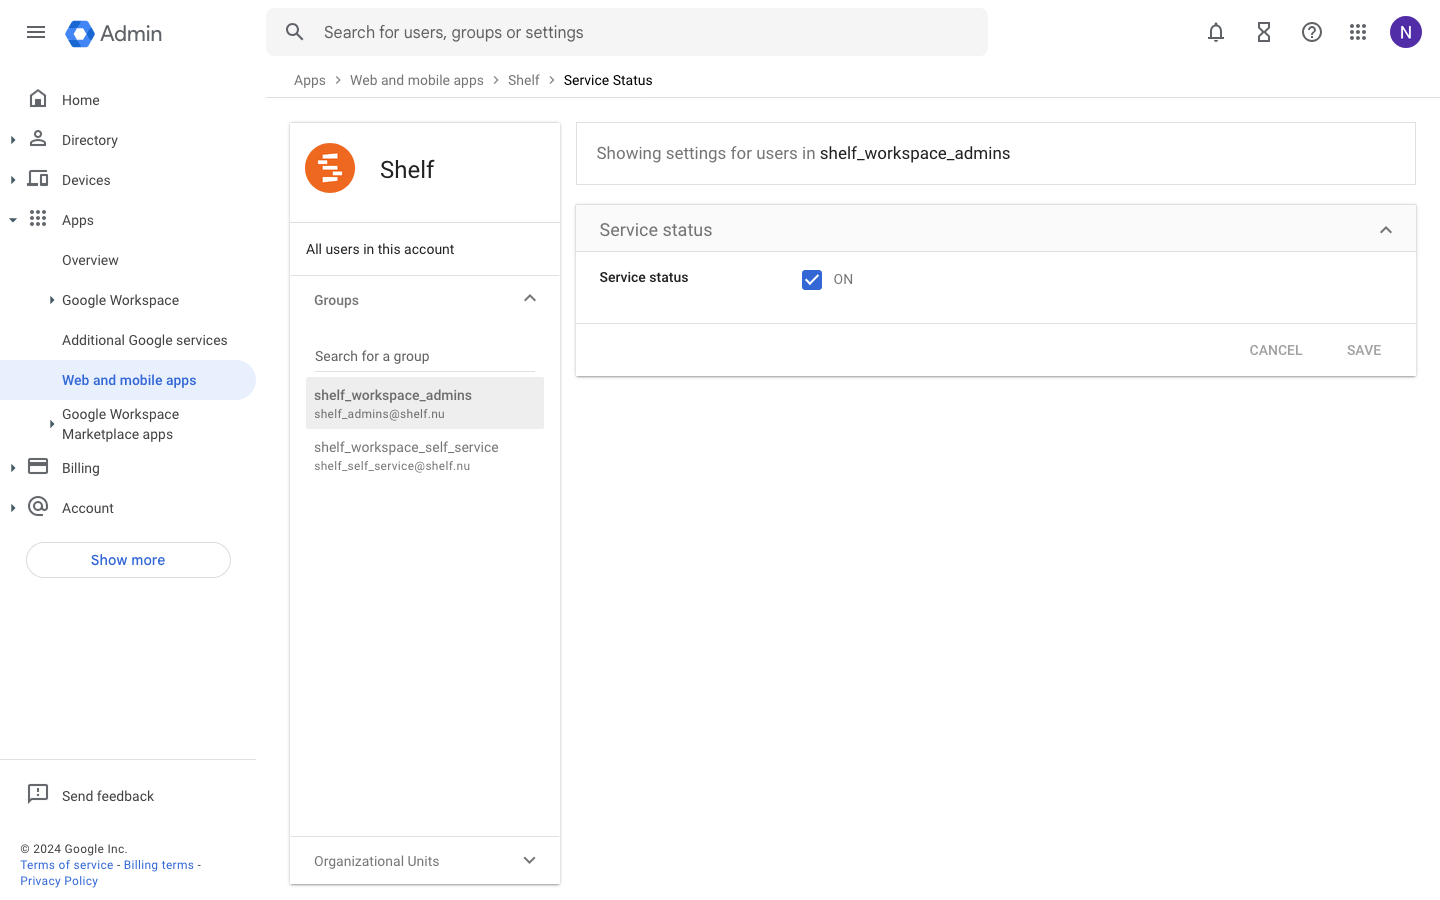
8.3: Allow groups to access Shelf app #
You can configure which Google Workspace user accounts will get access to Shelf. This is required as only users added to groups will be able to access Shelf.
You can configure this access by clicking on the User access card (or down-arrow). Follow the instructions on screen.
Changes from this step sometimes take a while to propagate across Google’s systems. Wait at least 15 minutes before proceeding to the next step.
8.4: Map groups to app attributes #
Once you have created all your groups, you have to make sure to add them to the attributes returned by the app.
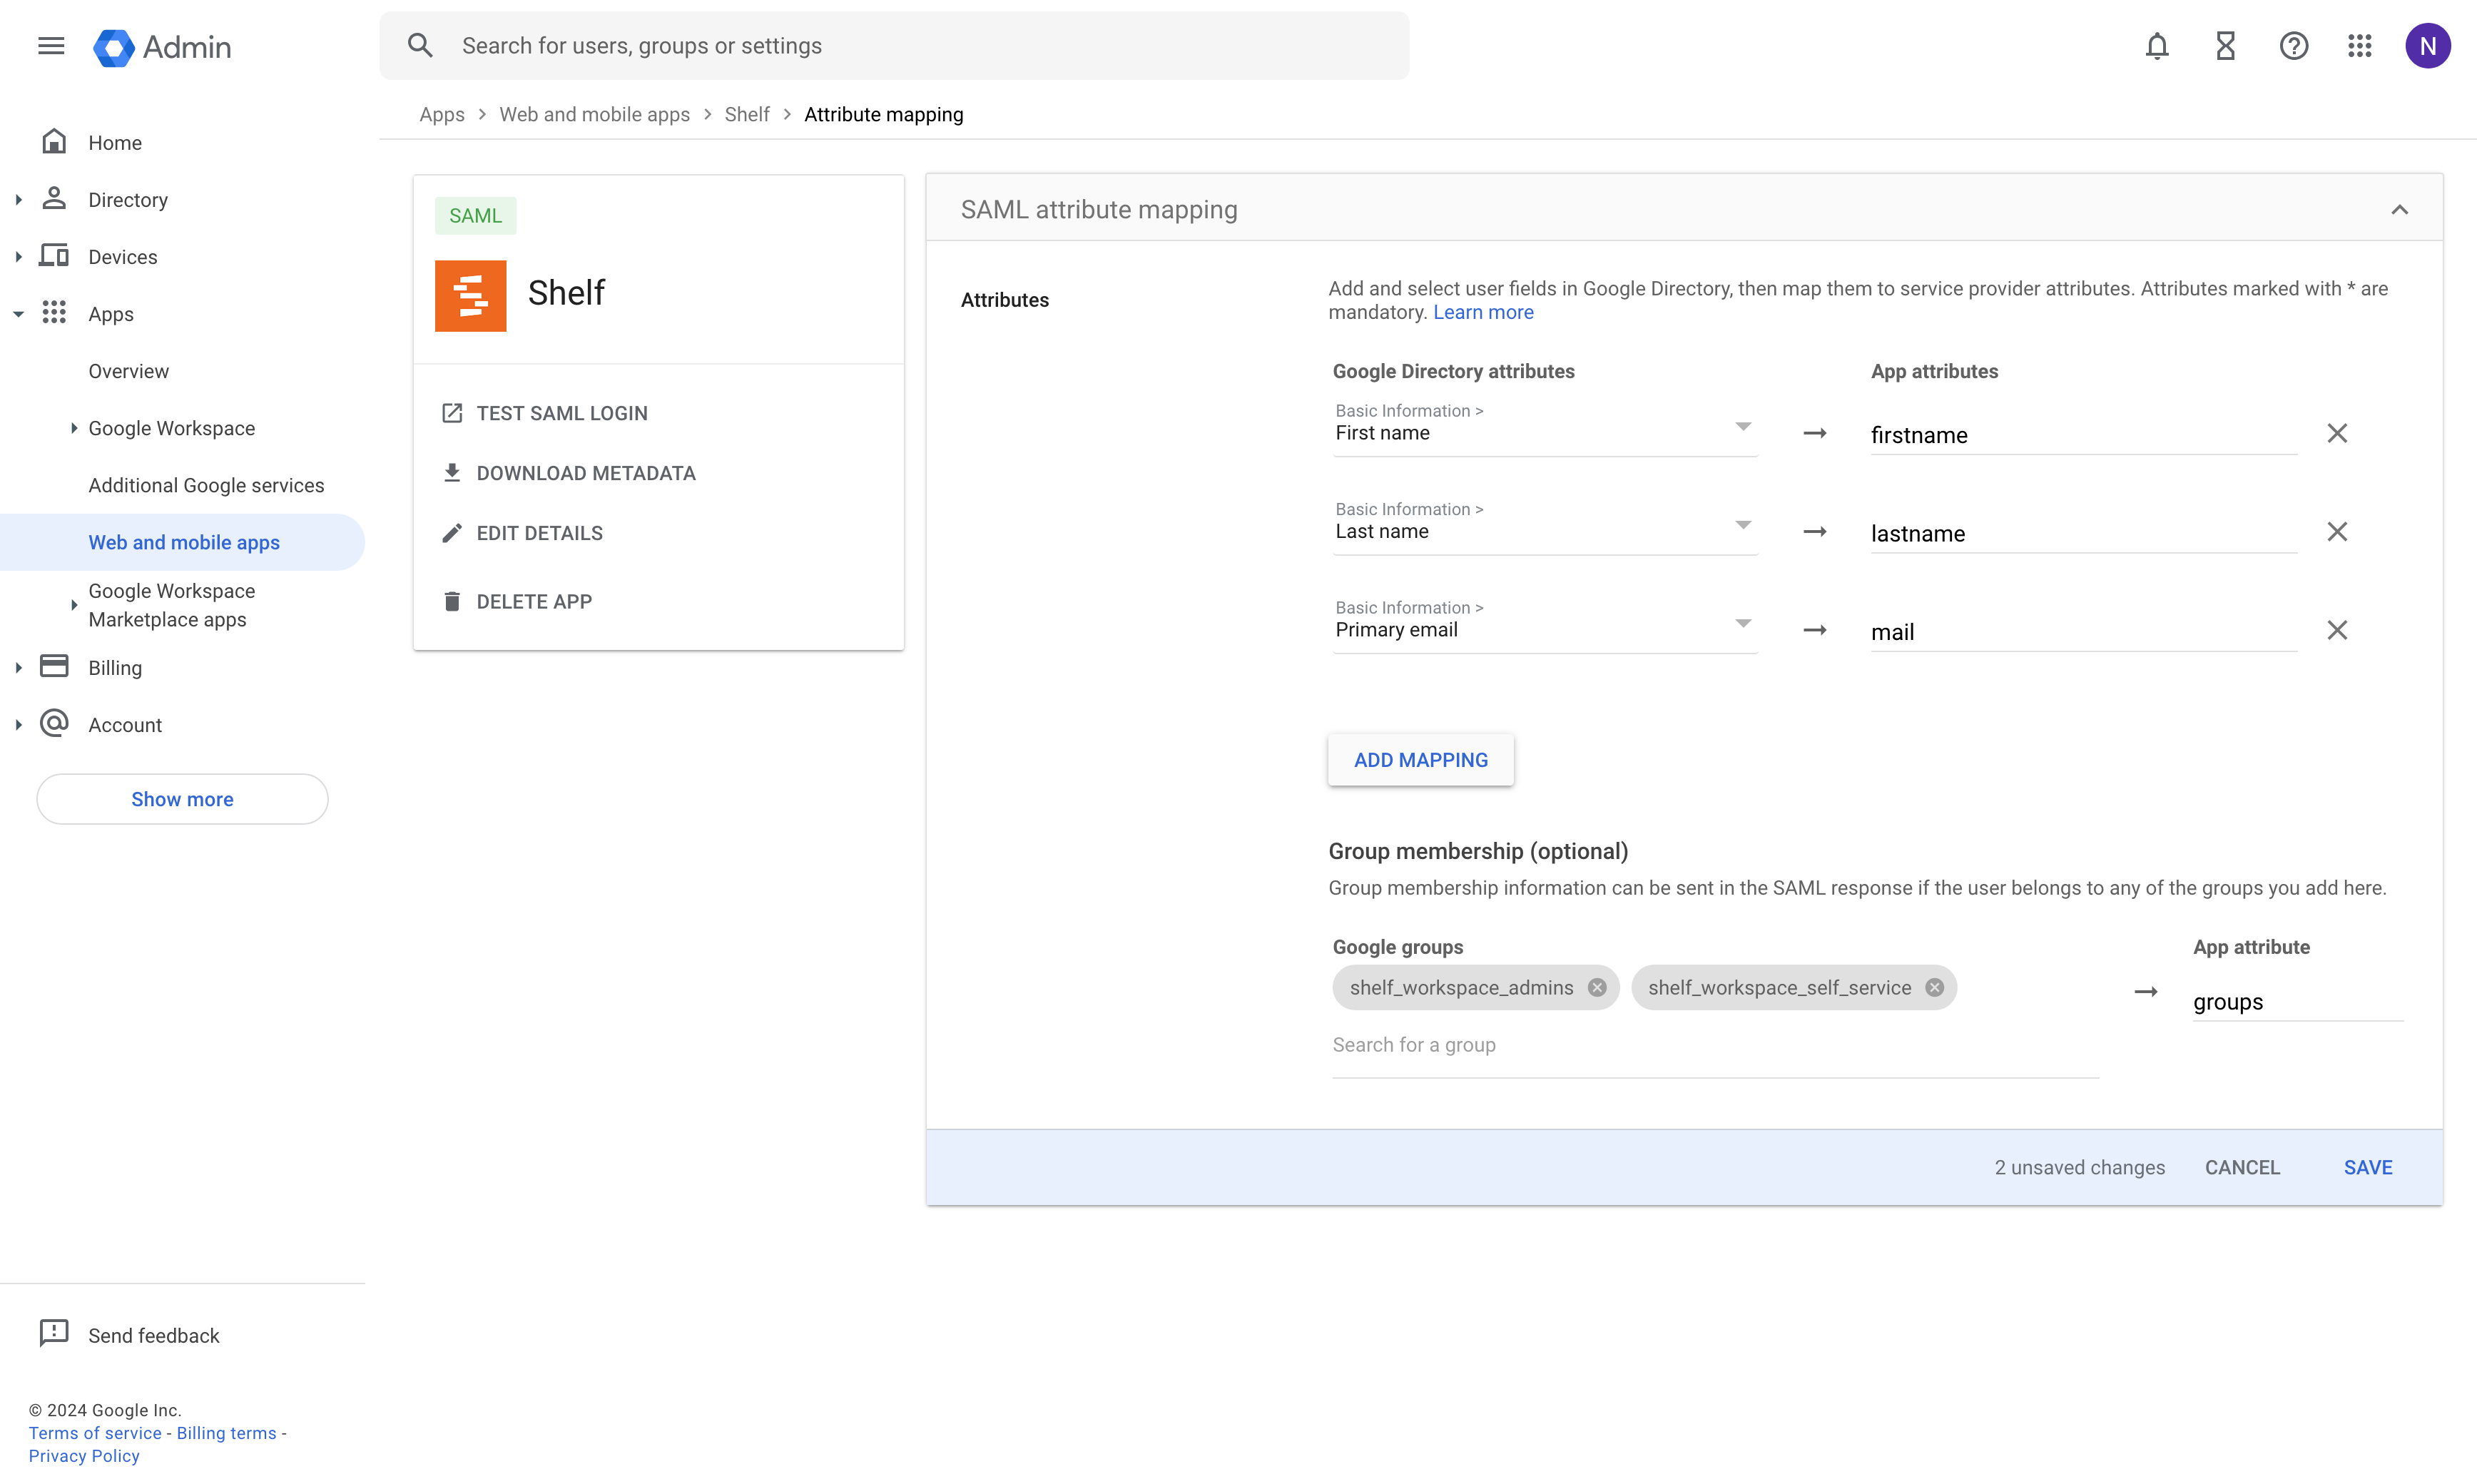
Make sure to add all groups that you want to access Shelf. The App attribute name should be groups
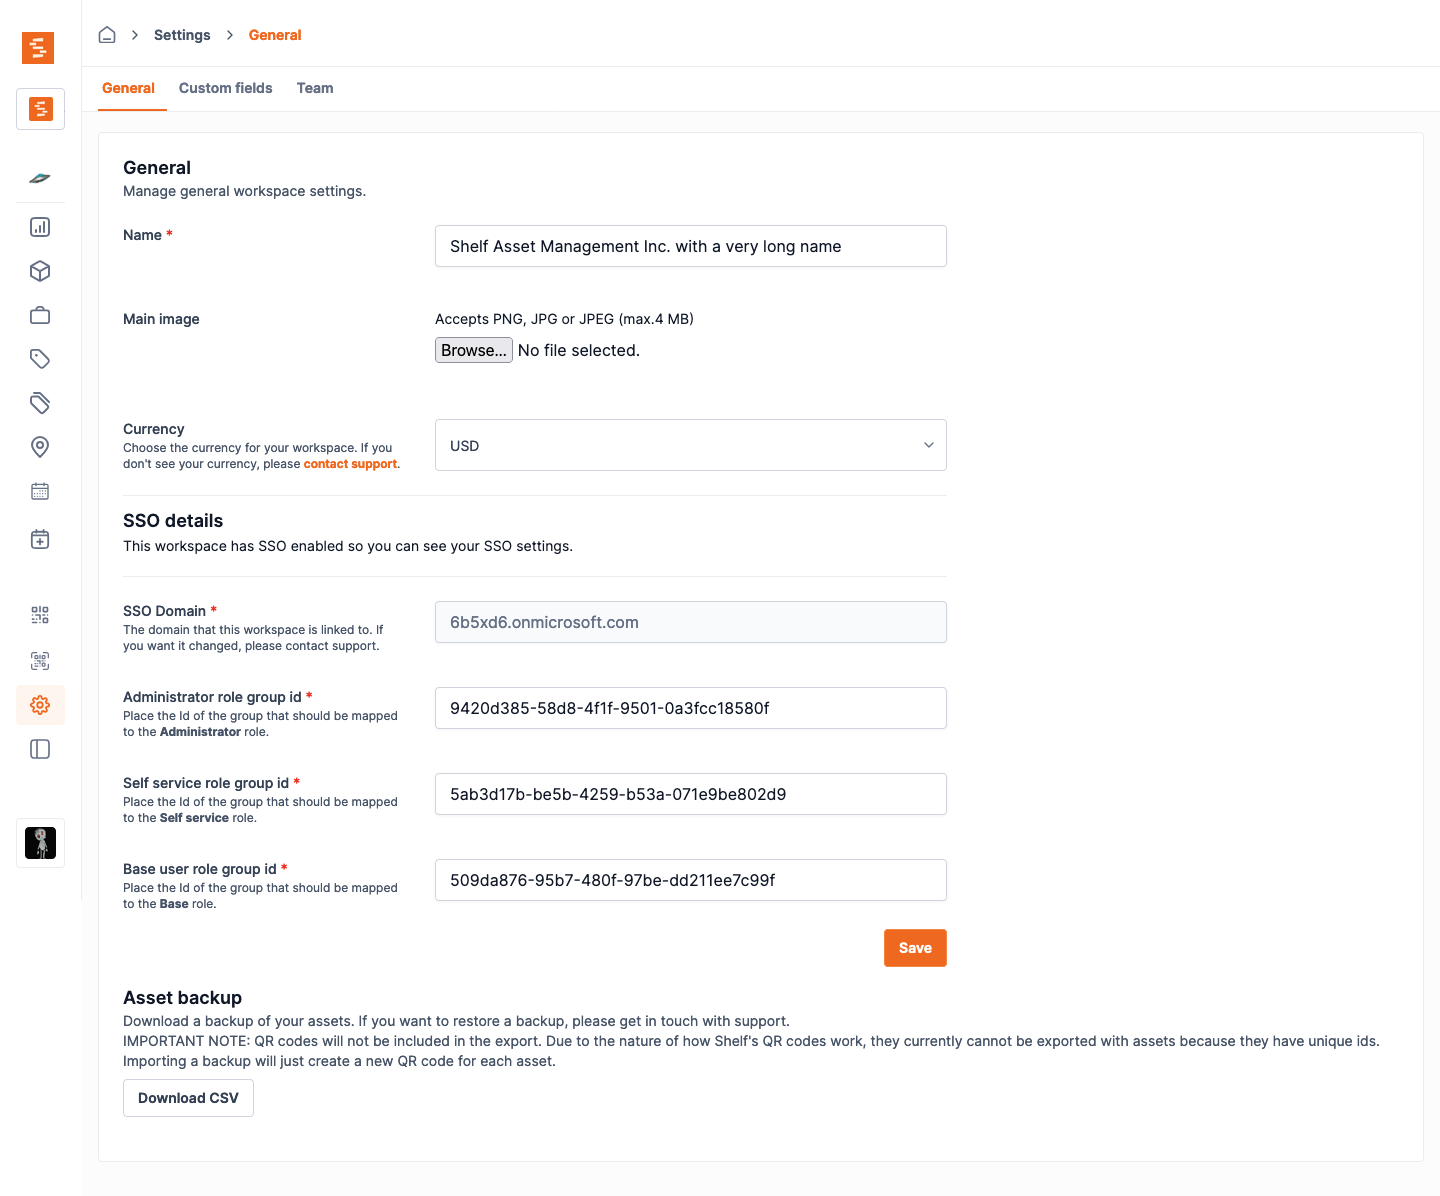
Step 9: Map Google workspace groups inside Shelf #
Once you have the groups ready, you need to add their names in the workspace settings inside Shelf. If you have multiple workspaces, you will need to map each one.
Go to the workspace settings and place the name of each group next to its matching role (Administrator, Self service, Base). You only need to fill in the roles you use — leave the others blank, but at least one group must be mapped.
IMPORTANT
These fields are case sensitive. The name must be entered exactly as the group name appears in Google Workspace.
Step 10: Test single sign-on #
Once you’ve completed all the steps above, ask one of those users to help you out in testing the setup.
It often helps to ask them to log out of their Google account and log back in.
Ask them to enter the domain of their in the Login in with SSO page.
If sign in is not working correctly, reach out to your support contact at Shelf.